PROCESS
WORKFLOW
Within each project there's a deep process that goes into the final result. Sometimes I am hired to help on simulation part, sometimes - on whole piece or video from A to Z.
Below you will find very rough representation on what process is made of.
---
www.catalysee.com
[email protected]
Behind The Scenes
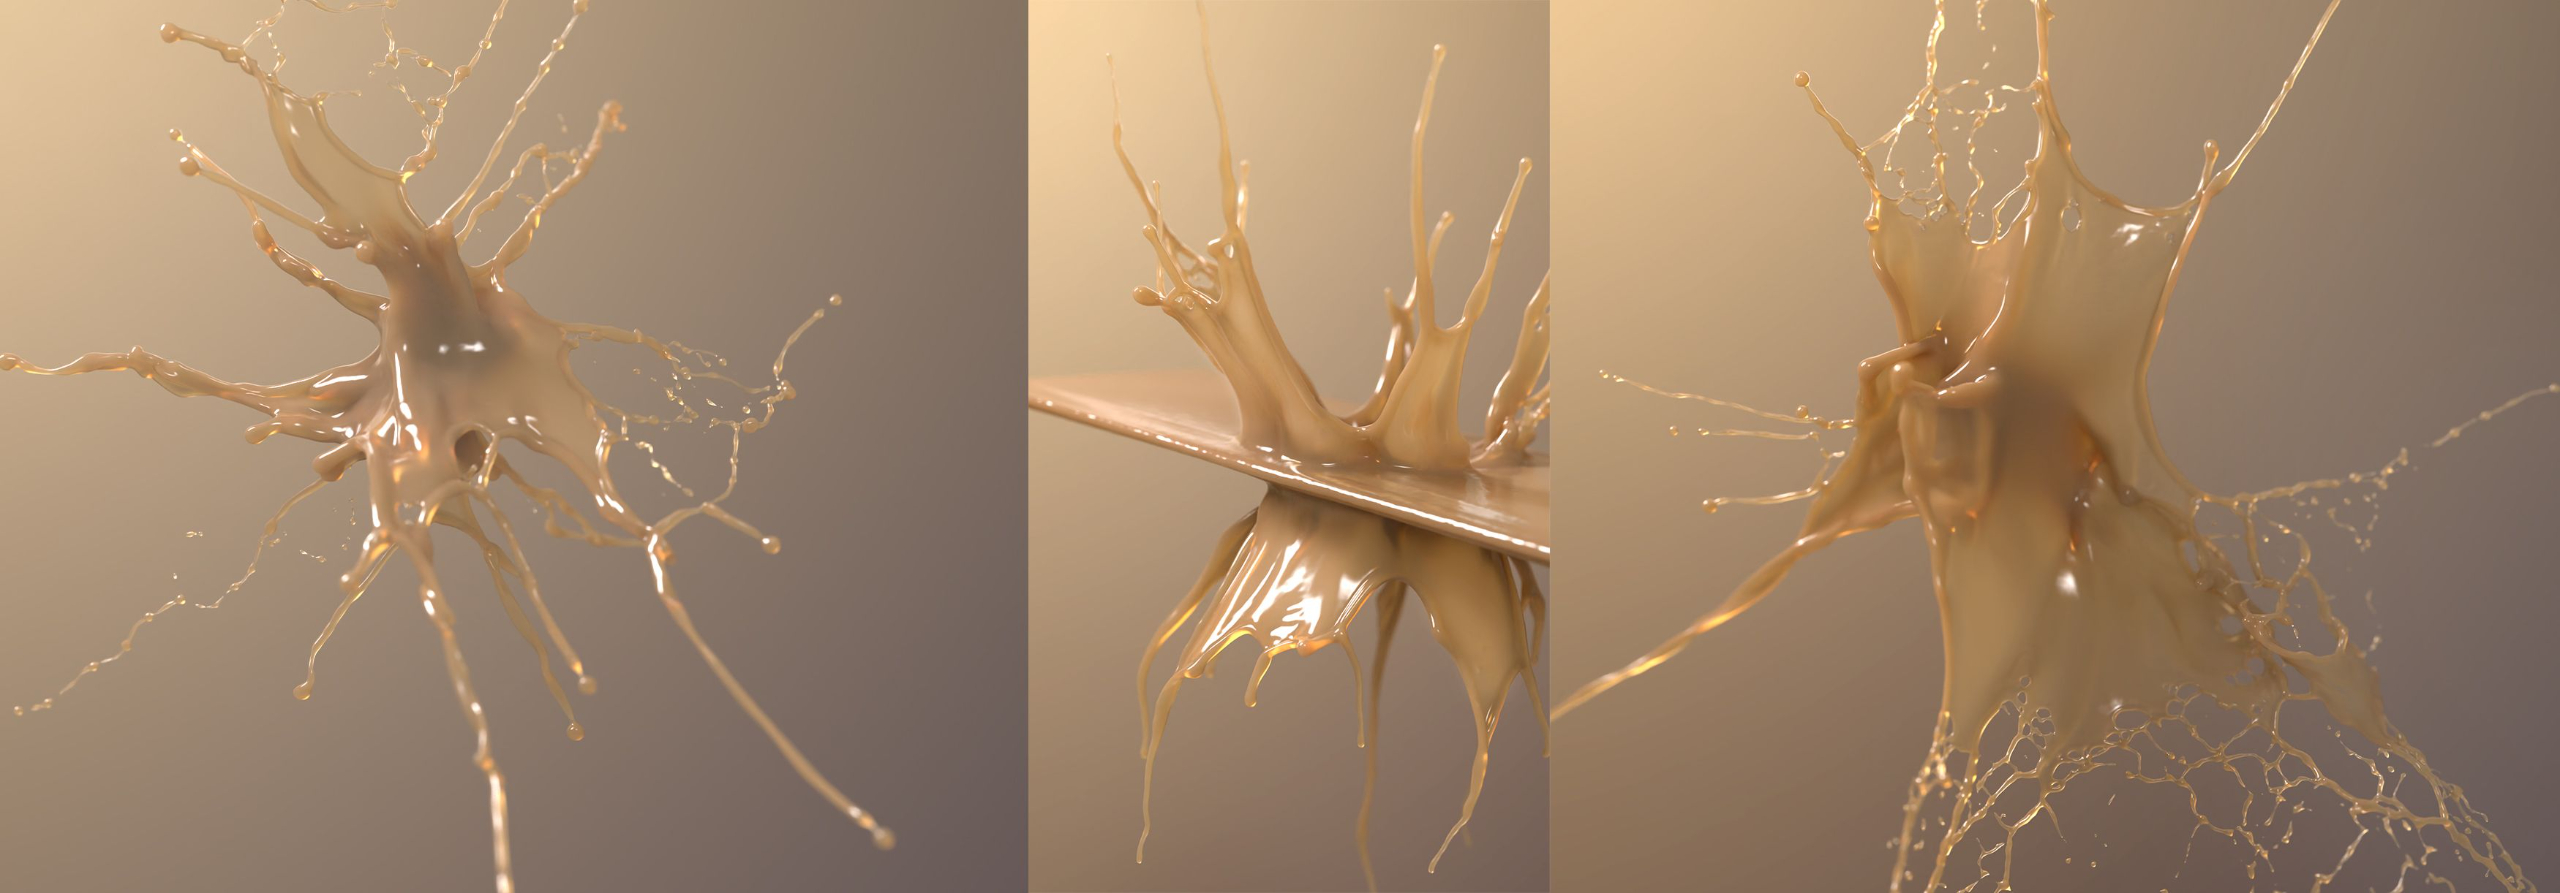
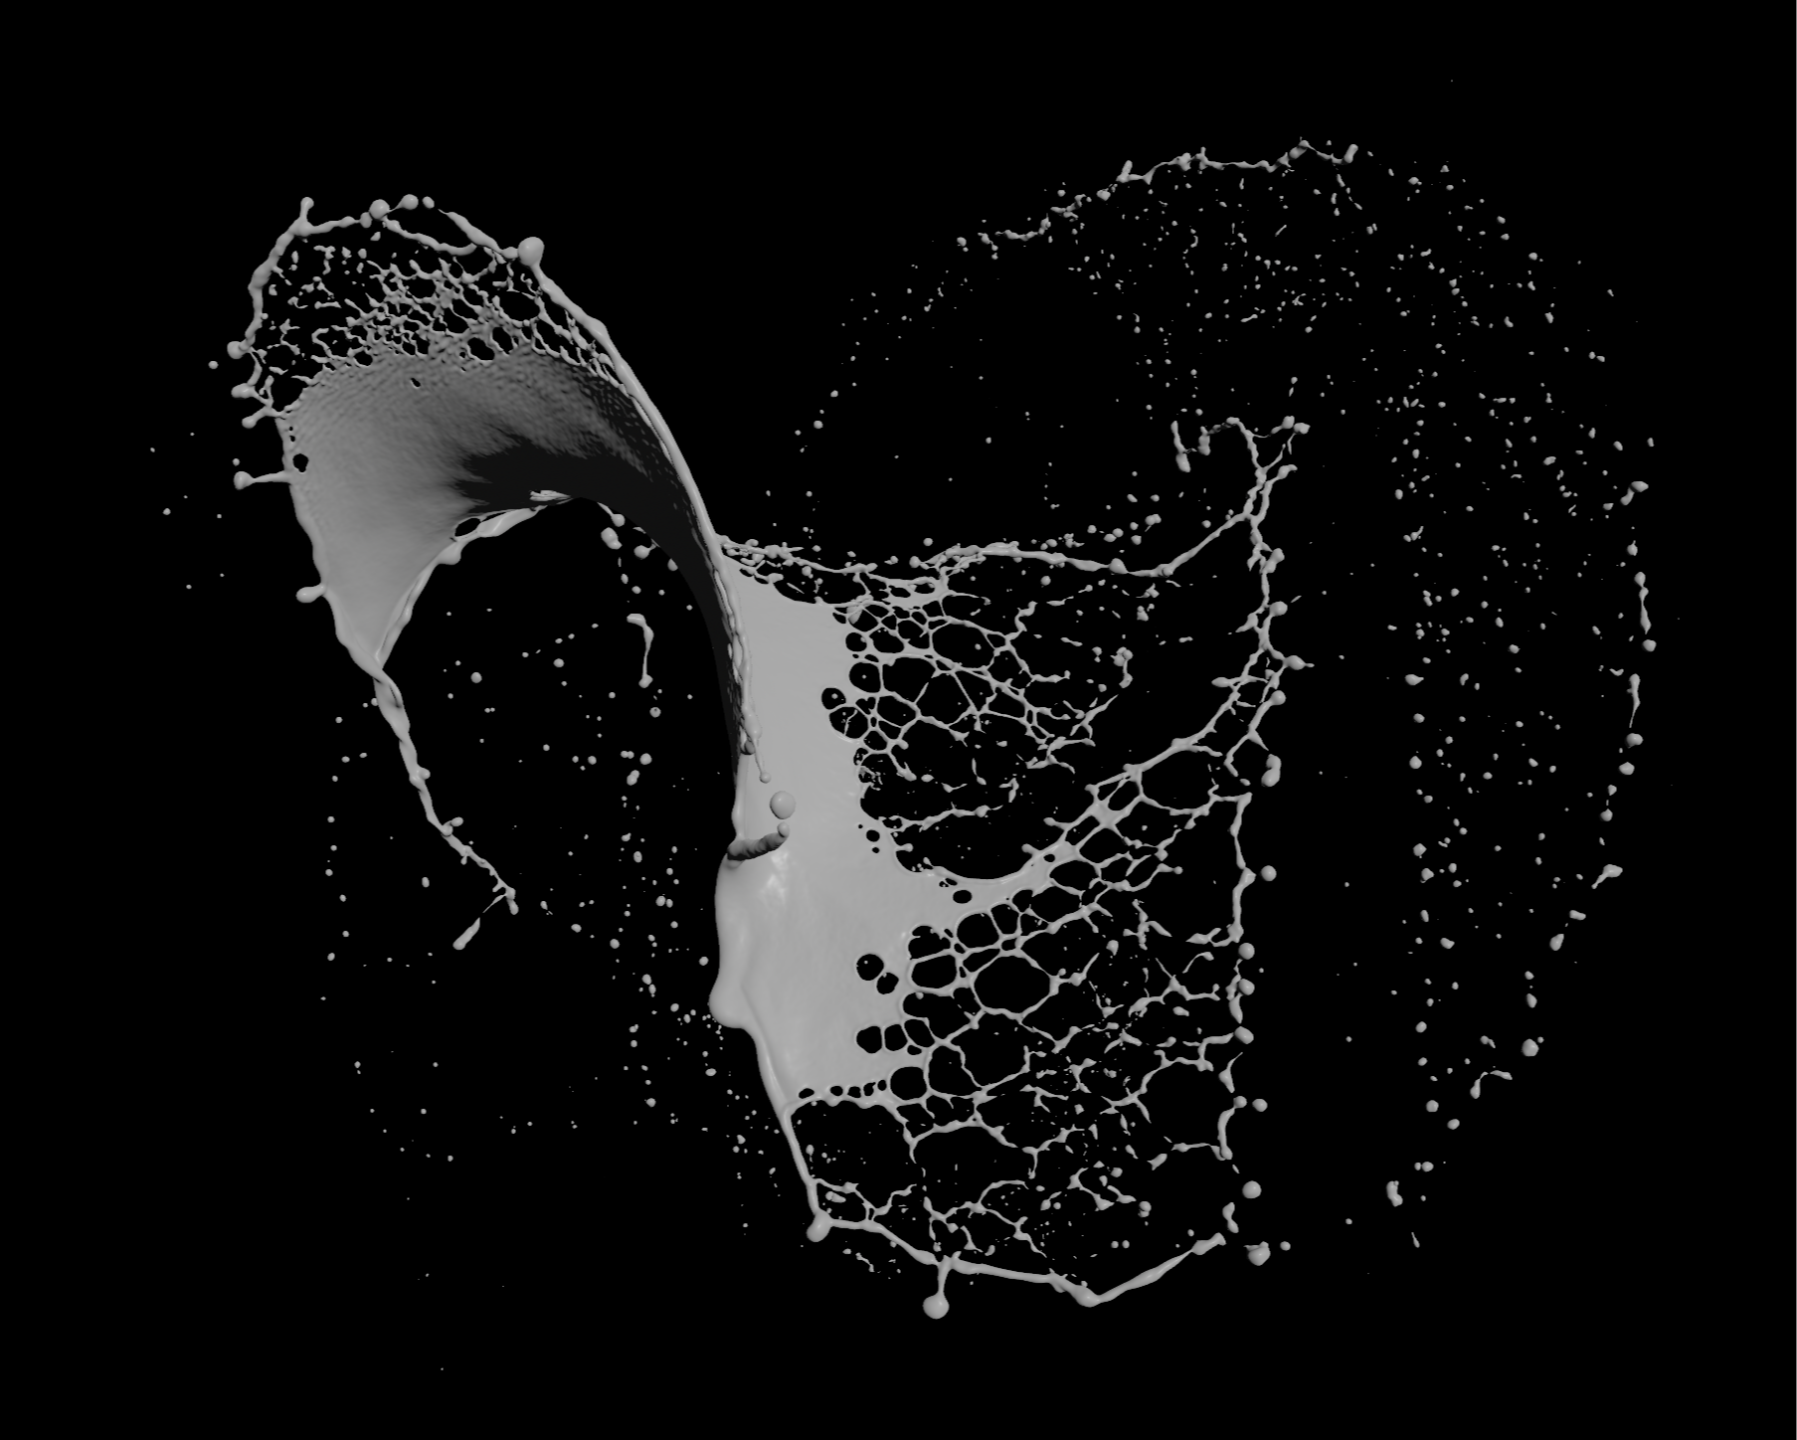
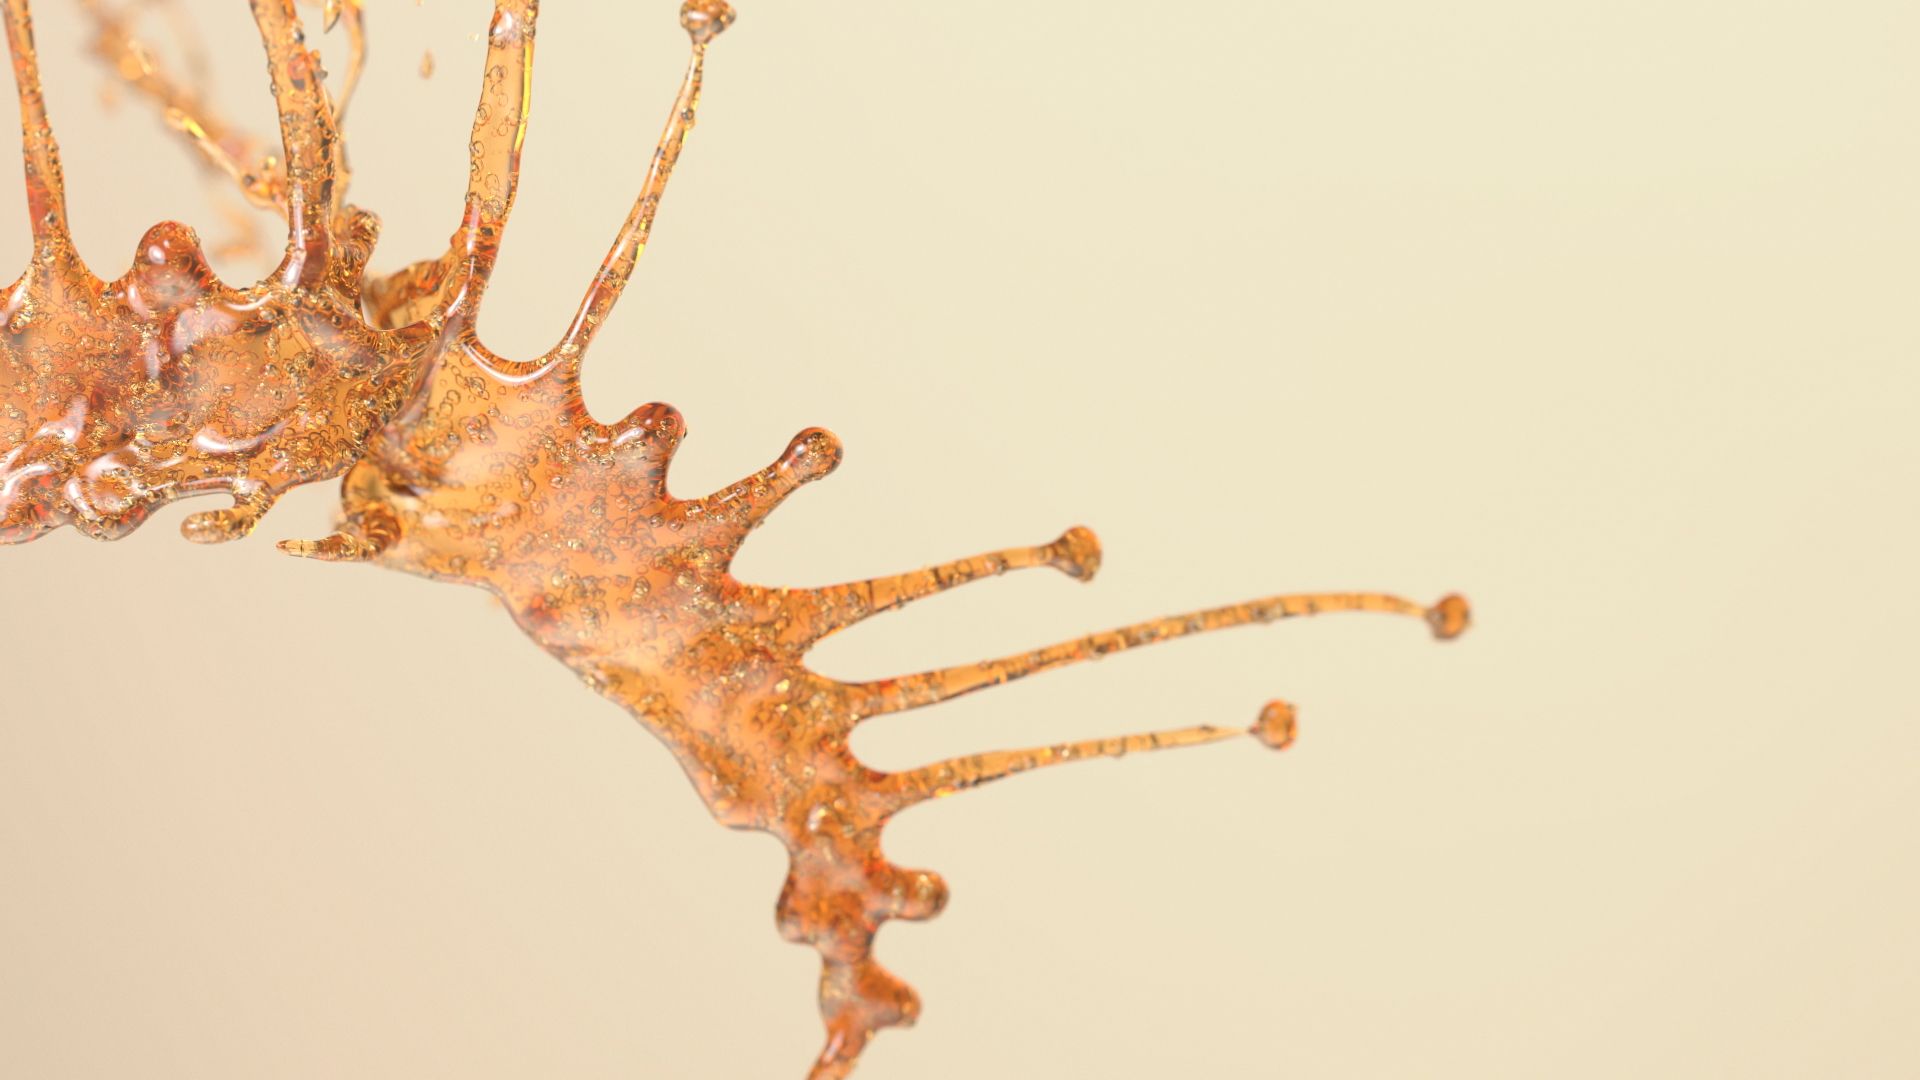
First of all, there's simulation part. Where different physical aspects are being molded into desired yet flowing shapes. The more specific more defined request- more effort and time goes into shaping it.
Sometimes to make full look it is combined out of multiple simulations + extra simulation for flowing bubbles and extra extraction for inside bubbles if needed.
For simulations I use either NextLimit RealFlow software or Sidefx Houdini , depending on what is more comfortable and faster for specific scene.
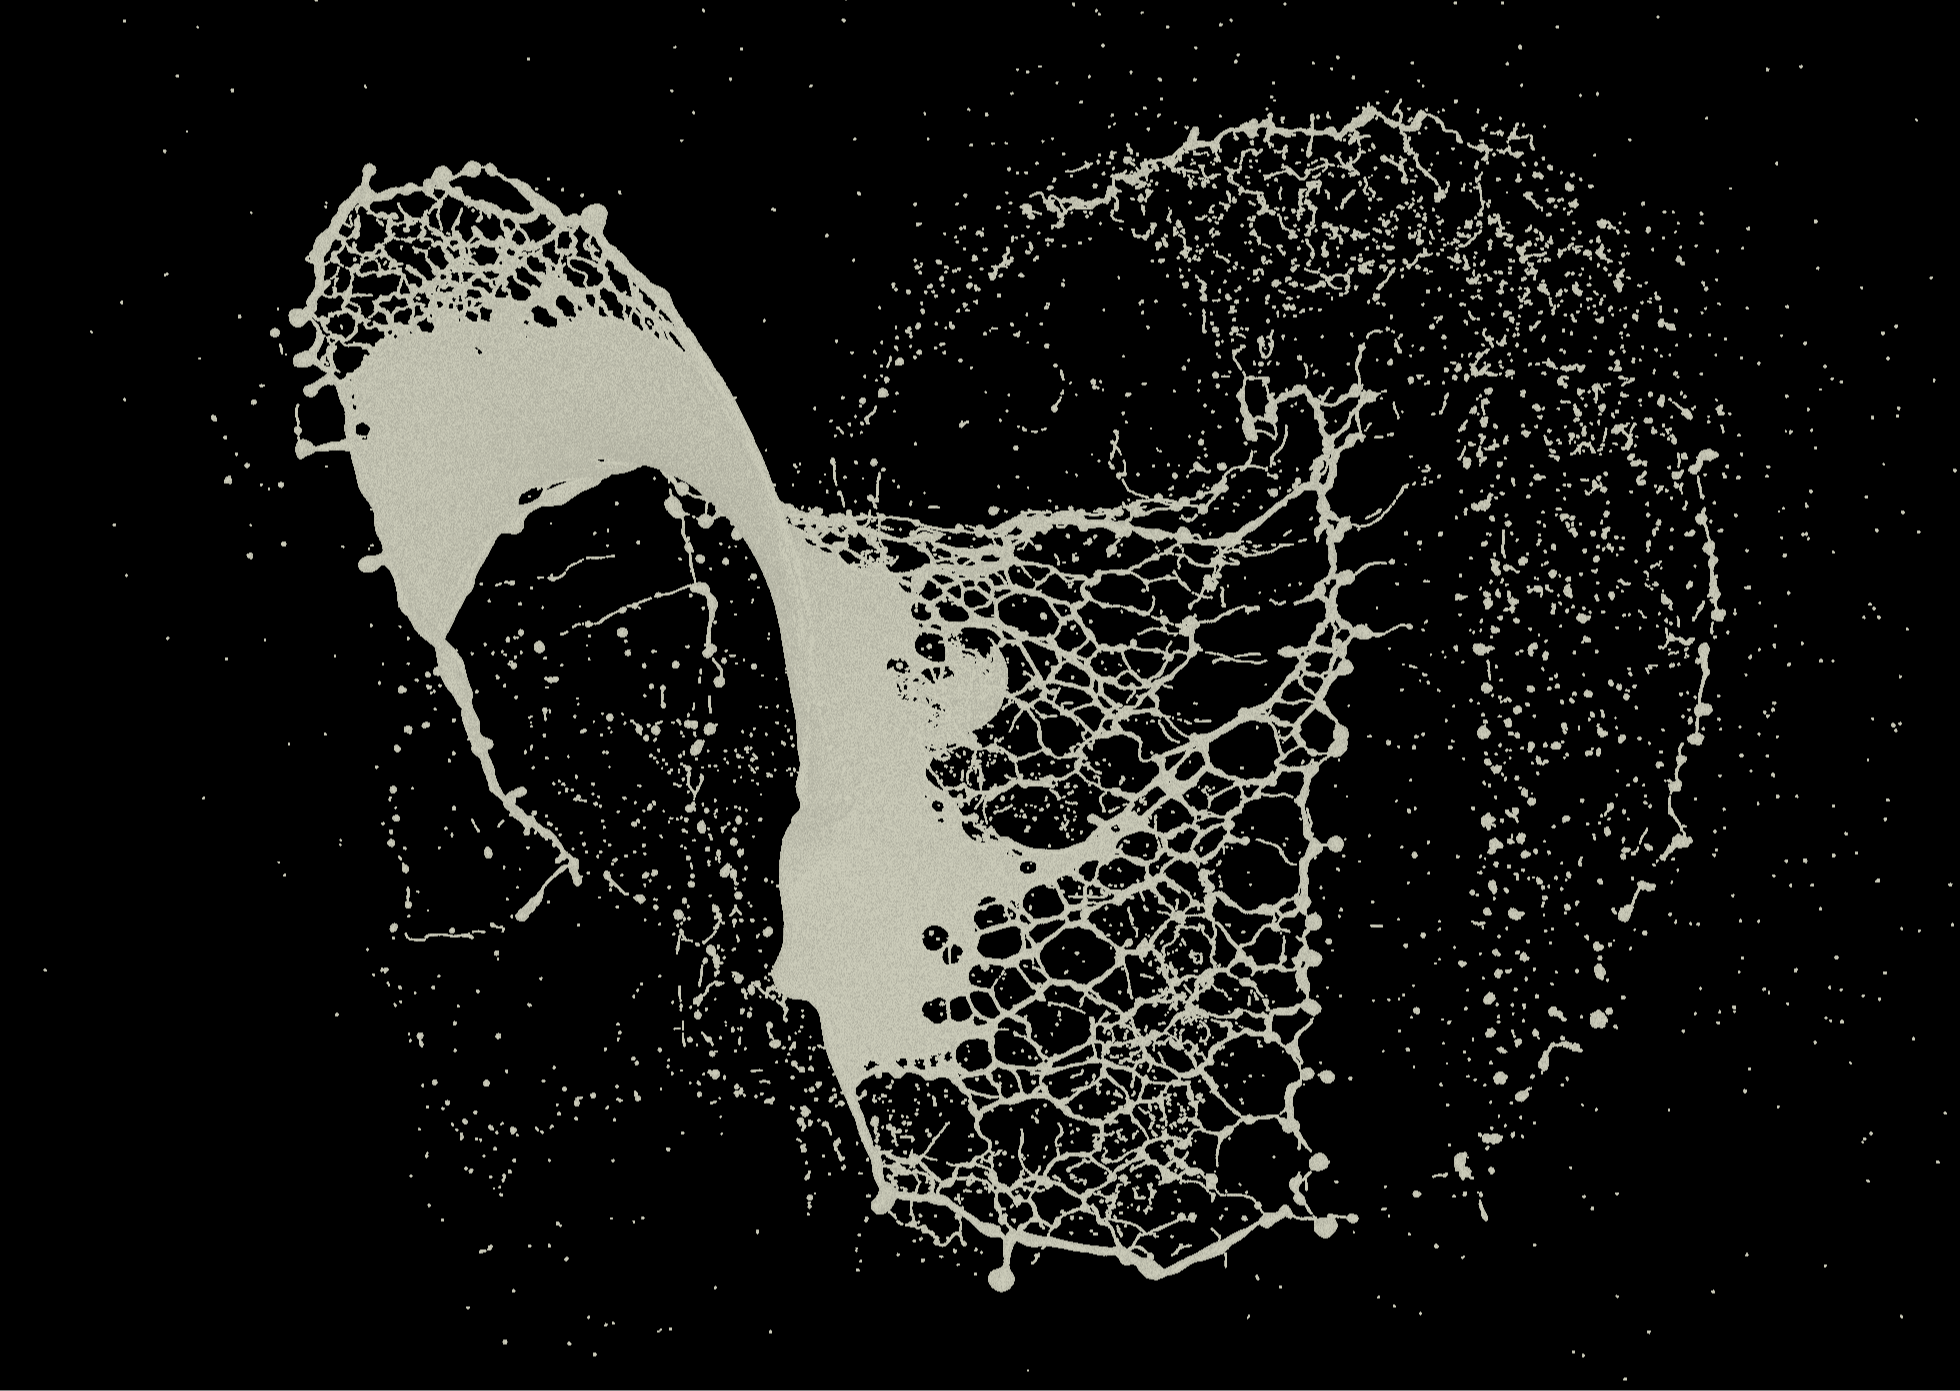
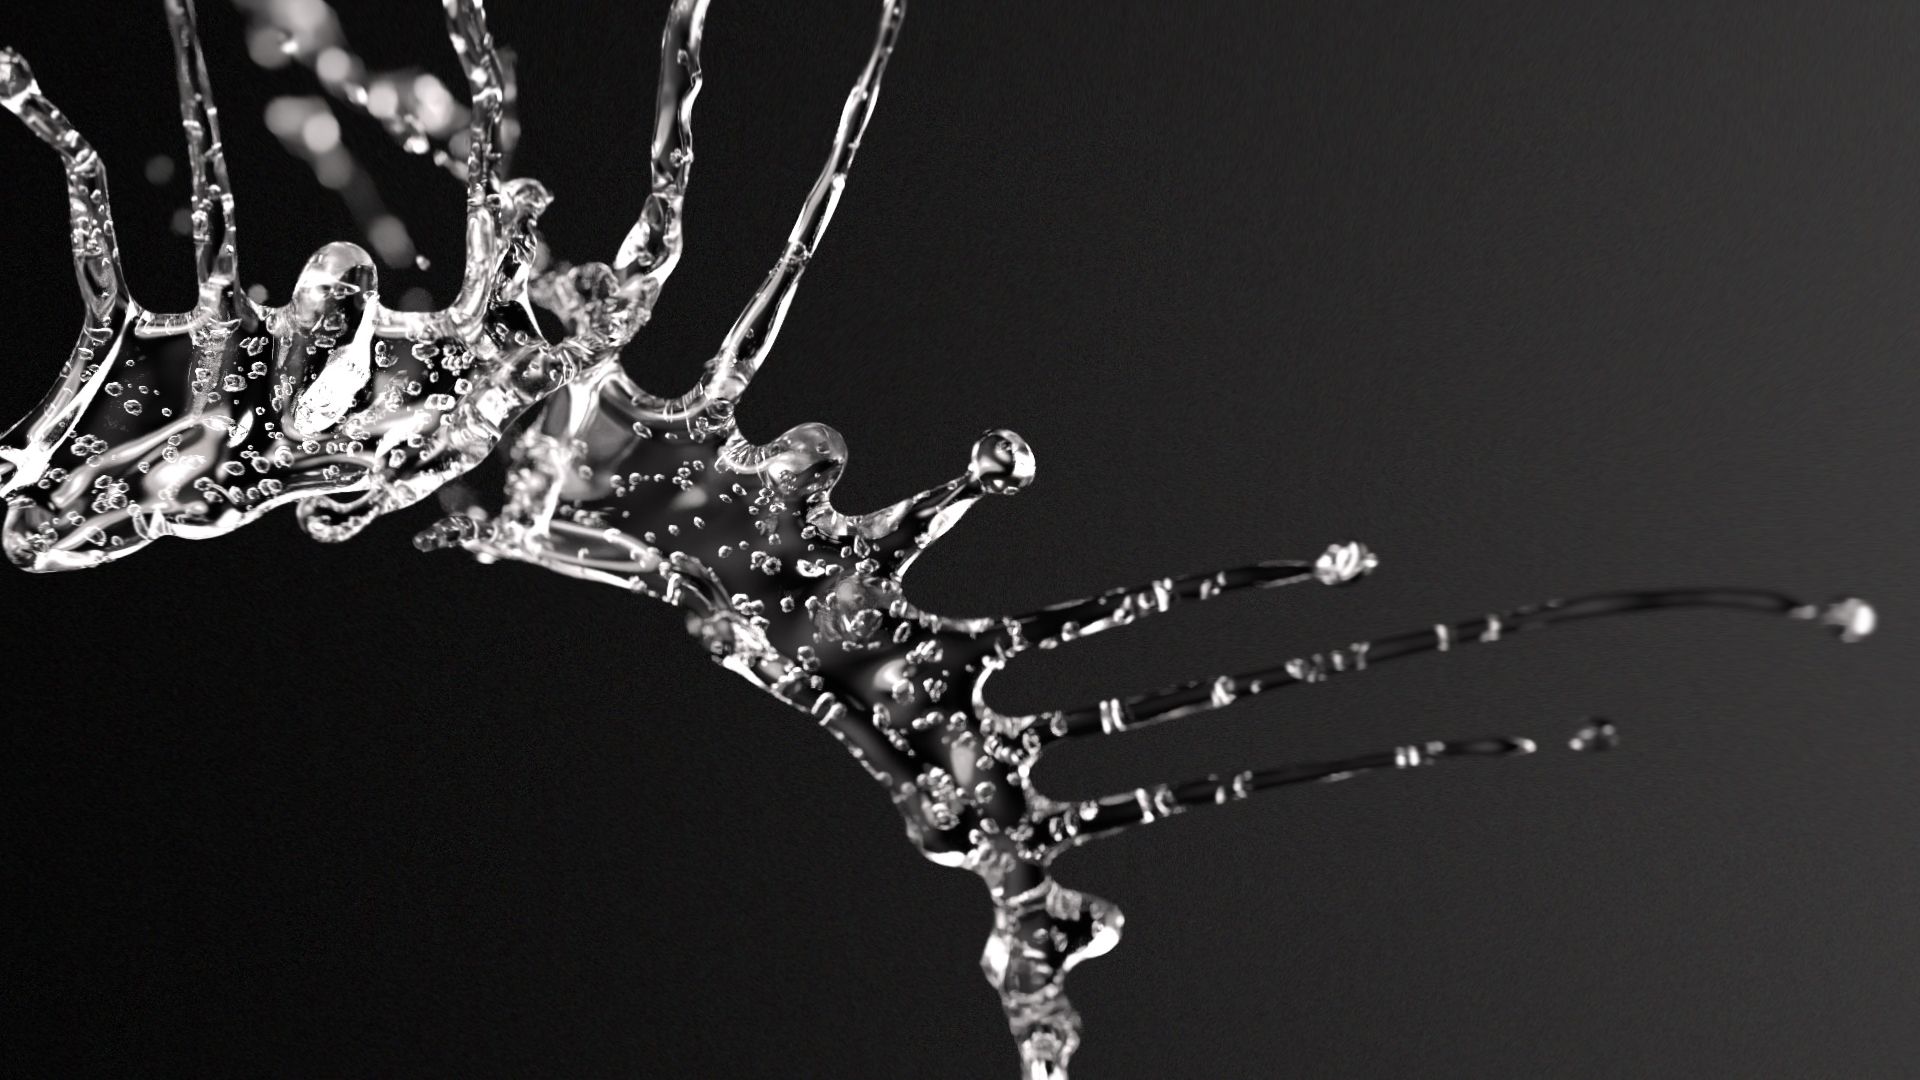
Simultaneous Process & Meshing
Meshing is the second part of simulation work, where we "wrap" the simulation with a solid surface to make the shape renderable and seen.
Usually I work on close to the final look straight away because smaller resolution is only helpful to define super rough direction which I usually leave it to myself because the client rarely understands how it would look at the end. Therefore, to make one simulation doesn't mean there's only one simulation involved. The process contains multiple tests/ fixes to shape the desired look. Some of it is meshed and shown to the client as an option.
In addition to mesh, sometimes there are added particles exported as alembics as well, to make instanced bubbles in addition to the simulation (either inside or outside).
Mesh is also .abc file so it is easily imported into ANY major software in our industry.
Simultaneous process means while the simulation isn't done yet, sometimes we are able to extract one frame and mesh it to start working on look development straight away or deliver a rough simulation to work on editing and timing, later swapping the mesh with the final one.
It is worth mentioning that sometimes simulation involves objects, any interraction with object slows down simulaiton time. Also sometimes object is simulated itself, such as MotionPlusDesign piece I did, rose petals were also simulated as soft bodies inside RealFlow.
Playbacks & Cuts
Playbacks of meshed simulation are essential parts in fastening up the edit or looking at simulation from different angles. I provide playbacks along with .abc file for final output or use it (either on my end or together with the team) to make the edit and define how much we need to render out.

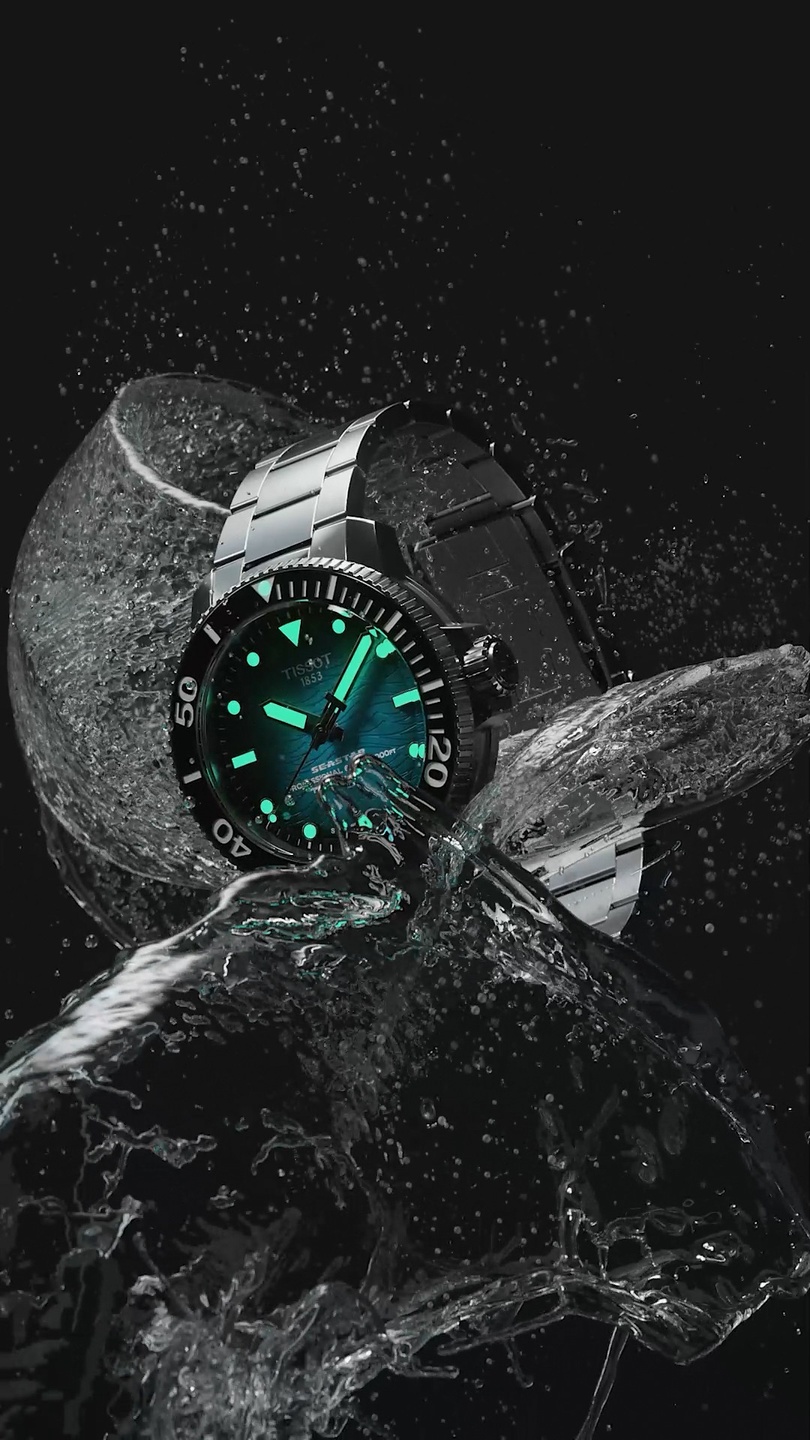
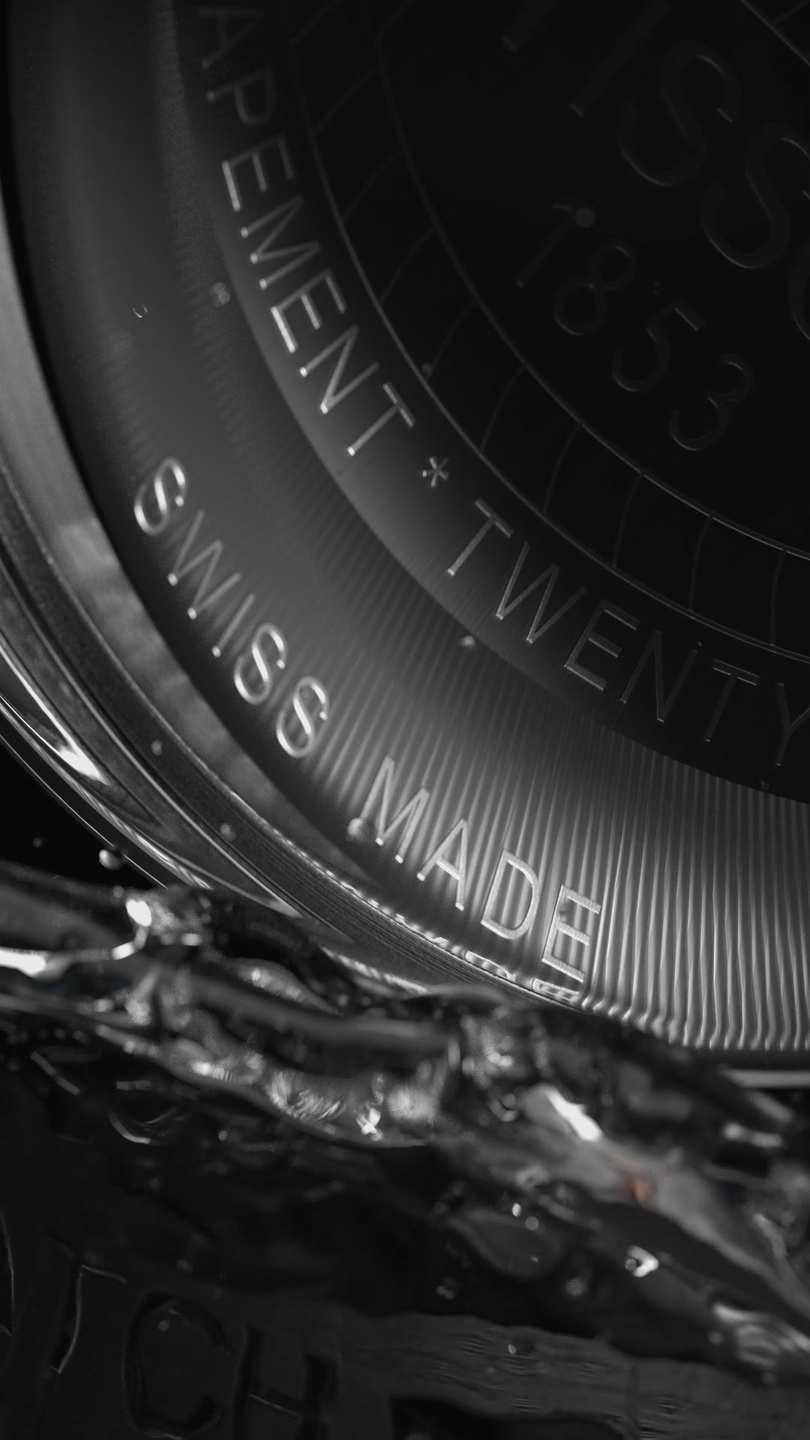
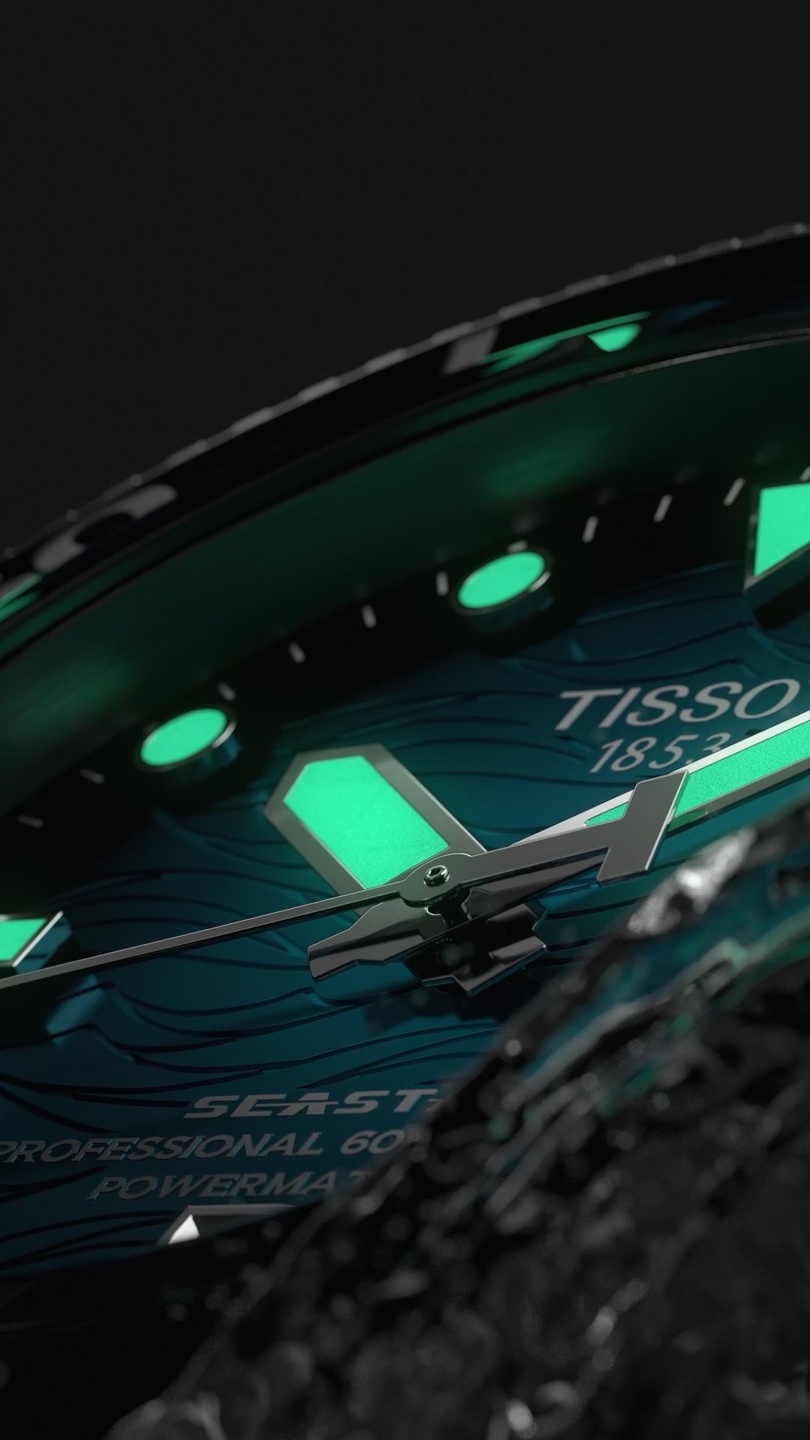
Look Development & Post Production
Look development is part where mesh and particles are placed in the scene, which is treated as real life photo studio + working on giving real life physics to the shader to make simulation (and other objects) look photo realistic. For that I use SideFx Houdini and Redshift render engine inside it.
This part most of the times on a project is being delivered sooner from my end, as this is essential to get clients approval both for simulation and for the final look.
Sometimes I am hired for simulation only, thus the rest of the team defines the shaders and lighting, however even then, usually I make at least rough look development to show how simulation looks, because it is essential part to make client understand how simulation would look like rendered (not all clients have worked with CG as well, that is really important to communicate in the process).
Ideally we have time and I can render out lower resolution test of whole look in motion prior approval for final render. But usually still frames together with animatic (cut of playbacks to show final piece rhythm and look before render together with still frames of each shot) does the job.
Post production on my end usually looks like: editing the video cut on Adobe After Effects along with adding motion blur (Depht of Field is always rendered out straight from 3D) and very light edit on colors and background to make compression look good (once it is uploaded to social media or other places) and making whole piece look the best.

Timeline
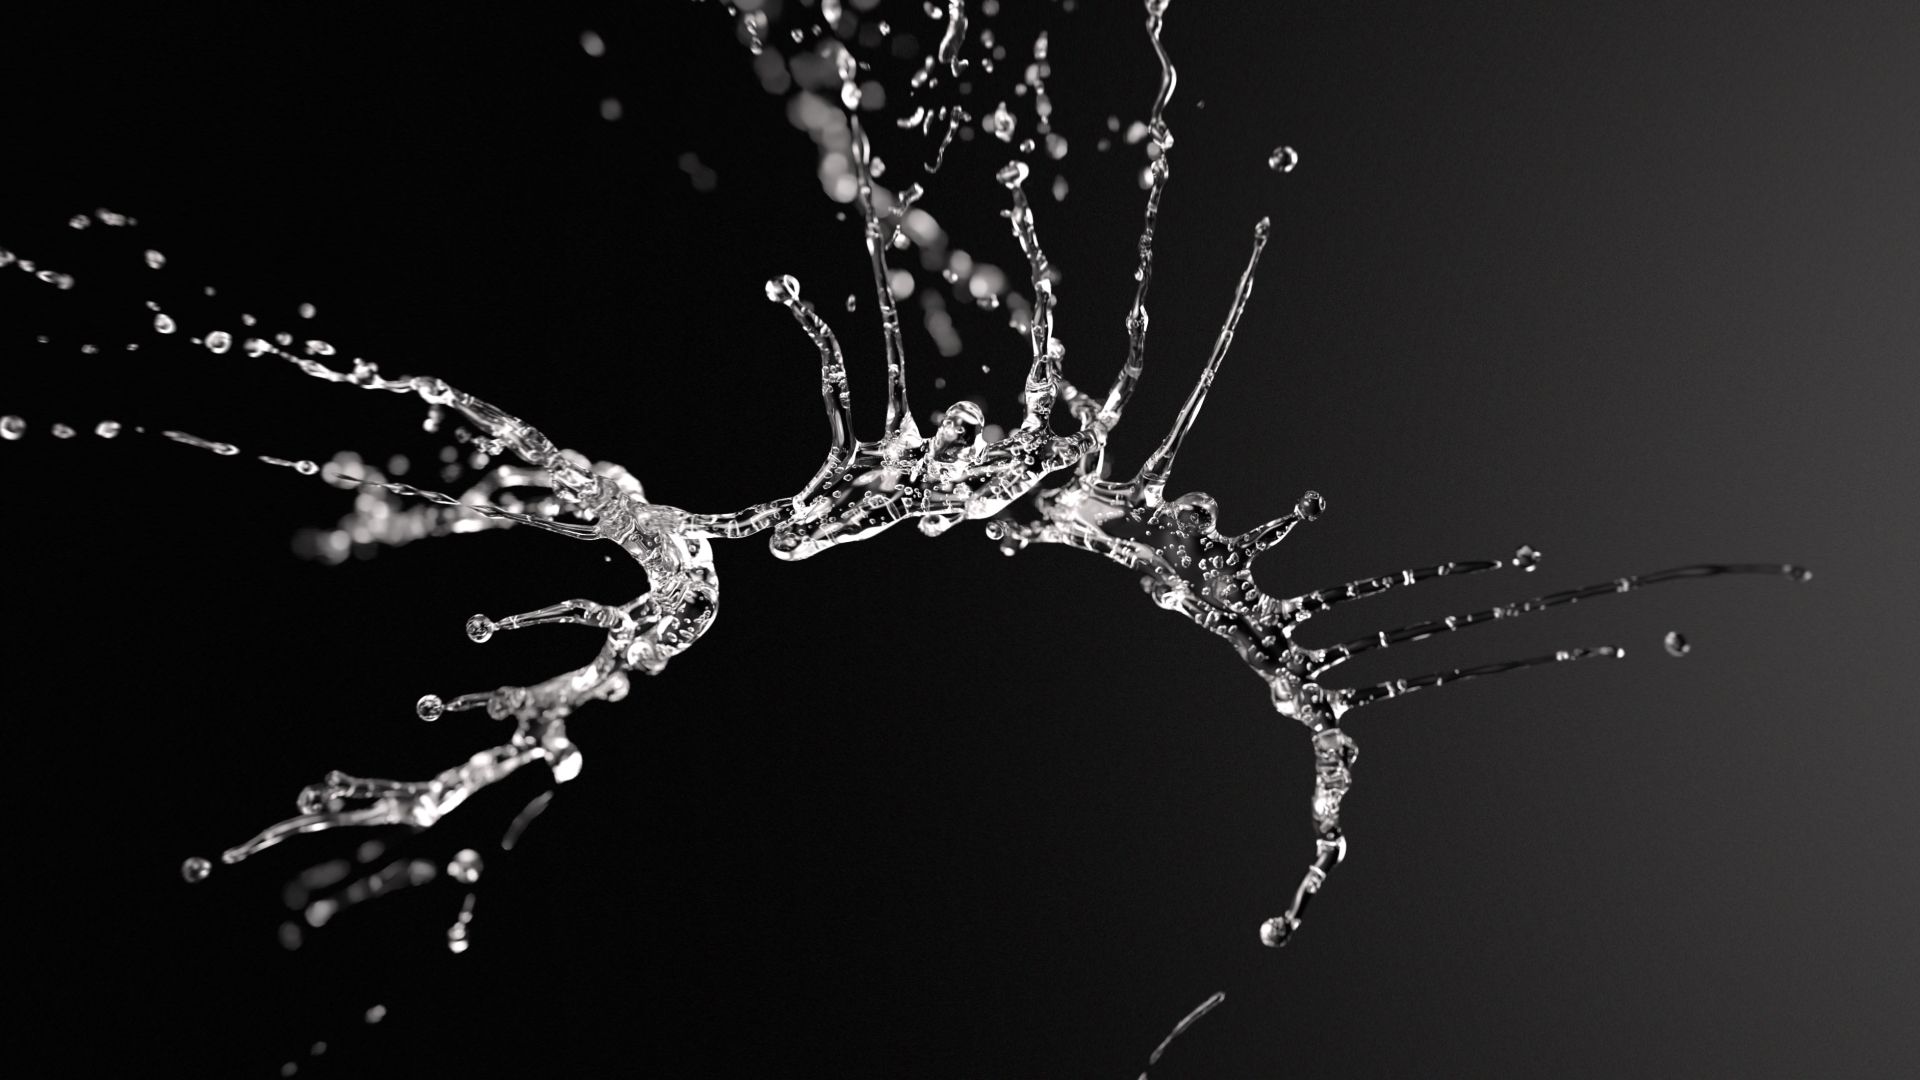
While pitching the projects I suggest clients to keep in mind the timeline for simulations. The more complex the request (more defined shapes or collisions) take more time than the ones where we have freedom to explore and are single splashes.
For example the Tissot Hero shot included multiple simulations and lots of days of simulating for each version to make the final look, therefore these type of simulations can take from 2 weeks to a month to finish the best look. The splashes you see below, however, are different personal technique I created and each splash can be done within 3-7 days, depending on simulation and excluding any client feedback.
When we get too specific feedback it is also a huge time delay, because physics doesn't work same way as sculpting in 3D is. It takes multiple run tests to make sure we are forcing the particles to behave exactly as client needs. Also when the required motion is very unnatural it could ruin the final look, as viewers eye always recognizes reality. The best is to have rough direction (or be given to direct it from scratch as I take on projects of pitching too) and have freedom to explore it. This way I always focus on the most natural ways to force fluid into shapes I and client need, leaving room to explore even better ones in the process.